How to Build Your First DApp using QuickNode's API
Building a blockchain explorer with QuickNode's Core API and Next.js
If you're new to Web3 and feeling overwhelmed about where to begin, don't worry - we've got your back. In this article, we'll take you by the hand and guide you step by step through building your first DApp using the QuickNode API.
Don't worry if you're unfamiliar with the term "DApp" - we'll start with the basics and explain everything along the way.
Whether you're a seasoned developer or a complete beginner, we guarantee you'll be a pro in no time!
So, let's get started.
What is a DApp?
If you're unfamiliar with the term "DApp," it stands for Decentralized Application, a software application operating on a decentralized network like Ethereum.
One of the primary benefits of DApps is their additional security layer, as transactions are encrypted and distributed across the blockchain network, making it challenging for hackers to gain unauthorized access.
Moreover, DApps often operate on open-source and transparent code, encouraging innovation in the blockchain space by enabling developers to build new applications that leverage existing tools and infrastructure. From finance to gaming, social networking, and beyond, DApps have a wide range of potential applications.
This article will use QuickNode’s API to make building your first DApp a breeze. So, whether you're a seasoned developer or a curious beginner, get ready to embark on an exciting journey into the world of DApps!
QuickNode and QuickNode APIs: An Overview
QuickNode is a cutting-edge blockchain platform that empowers developers to build and deploy their blockchain-based applications quickly and efficiently. One of the critical features of QuickNode is its user-friendly development environment, which simplifies the process of building blockchain-based applications.
QuickNode also offers APIs, which stands for Application Programming Interface, a software intermediary that allows two different applications to communicate. By leveraging QuickNode APIs, developers can focus on building innovative applications and services that meet the needs of their users without the added complexity and risk associated with building blockchain-based solutions from scratch. This enables developers to create scalable, high-performing, and secure solutions in a short amount of time.
Now that you're up to date on what a DApp is and understand QuickNode, it's time to roll up our sleeves and build!
Building a blockchain explorer with QuickNode’s Core API and Next.js.
In this section, I will guide you through the process of building a blockchain explorer using QuickNode's Core API, React, Javascript, Next.js, and Tailwind CSS. The result will be a web application displaying the most recent Ethereum blockchain transactions, much like Etherscan. Also, you can view essential information such as the block number, transaction hash, and timestamp.

The Prerequisites
Basic understanding of JavaScript, Next.js, and TailwindCSS
Have NodeJS runtime installed on your local machine
Have npm installed as a package manager
Step 01: Create a Next.js Project
Next.js is a tool that makes it easier and faster for developers to build any website, from simple blogs to large online stores and web applications. It Is based on the React framework and has SEO-friendly features, making it easy for search engines to find and rank the website.
To start using Next.js, you must set up your environment and install the necessary dependencies. Open a terminal window and navigate to the folder where you want to save your Next.js project.
Type the command below:
npx create-next-app@latest .
Once you run this command, it creates a new Next.js project in your chosen location. Then, to start the server on your computer for testing, use this other command.
npm next dev
After executing the command, your local development environment will be set up. To view the Next.js starter project, enter "http://localhost:3000" in your web browser. The page displayed in your web browser should look similar to the image shown below:

STEP 02: Add TailwindCSS to Your Project
Tailwind CSS is a tool that assists developers in quickly and easily styling their websites and web applications by providing pre-built CSS classes to apply to HTML elements. This tool offers flexibility and customization, making it effortless to create modern and responsive designs without writing custom CSS from scratch.
To install Tailwind CSS and its required dependencies using npm, run the following command in the terminal.
npm install -D tailwindcss postcss autoprefixer
Run the init command to generate both the tailwind.config and postcss.config files.
npm tailwindcss init -p
/** @type {import('tailwindcss').Config} */
module.exports = {
  content: [
    "./app/**/*.{js,ts,jsx,tsx}",
    "./pages/**/*.{js,ts,jsx,tsx}",
    "./components/**/*.{js,ts,jsx,tsx}",

    // Or if using `src` directory:
    "./src/**/*.{js,ts,jsx,tsx}",
  ],
  theme: {
    extend: {},
  },
  plugins: [],
}
To ensure that Tailwind CSS is correctly applied to all template files, add the following code to the tailwind.config.js file, including the paths to all template files:
Next, add the @tailwind directives for every layer of Tailwind to your globals.css file. The beginning of your globals.css file should resemble this:
File location: ./styles/globals.css
@tailwind base;
@tailwind components;
@tailwind utilities;
STEP 03: Adding Style and Layout
Create a new directory in the root named "components". Create two new files in the components directory: Header.jsx and Main.jsx. Put the following code in Header.jsx:
File path: ./components/Header.jsx
import React from "react";

function Header() {
  return (
    <>
      <div className="Header-contaniner flex justify-center my-8 ">
        <h2 className="text-blue-600  text-2xl">Xyz  Explorer</h2>
        <img></img>
      </div>
    </>
  );
}

export default Header;
Next, go to the Main.jsx file and copy and paste the following code.
File: ./components/Main.jsx
import React, { useEffect , useState} from "react";

function Main() {

    return (
        <div className= "flex justify-center">
   <table className="table-auto shadow-lg bg-white w-4/5 text-center" >
  <thead className=" bg-gray-800 border-b">
    <tr>
      <th scope="col" className="text-center  px-8 py-4 font-medium text-white">#</th>
      <th scope="col" className="text-center  px-8 py-4 font-medium text-white">hash </th>
      <th scope="col" className="text-center px-8 py-4 font-medium text-white">timestamp</th>
    </tr>
  </thead>
  <tbody>
  </tbody>
</table>
        </div>
    )
}

export default Main;
Import the Header.js and Main.js in the Index.js file.
import Head from 'next/head';
import Header from '@/components/Header';
import Main from '@/components/Main';


export default function Home() {
  return (
    <div>
      <Head>
        <title>Quick node explorer</title>
        <meta name= "description" content=" Generated by create next app"/>
        <link rel="icon" href="/favicon.ico" />
      </Head>
      <Header/>
      <Main />
    </div>
  )
}
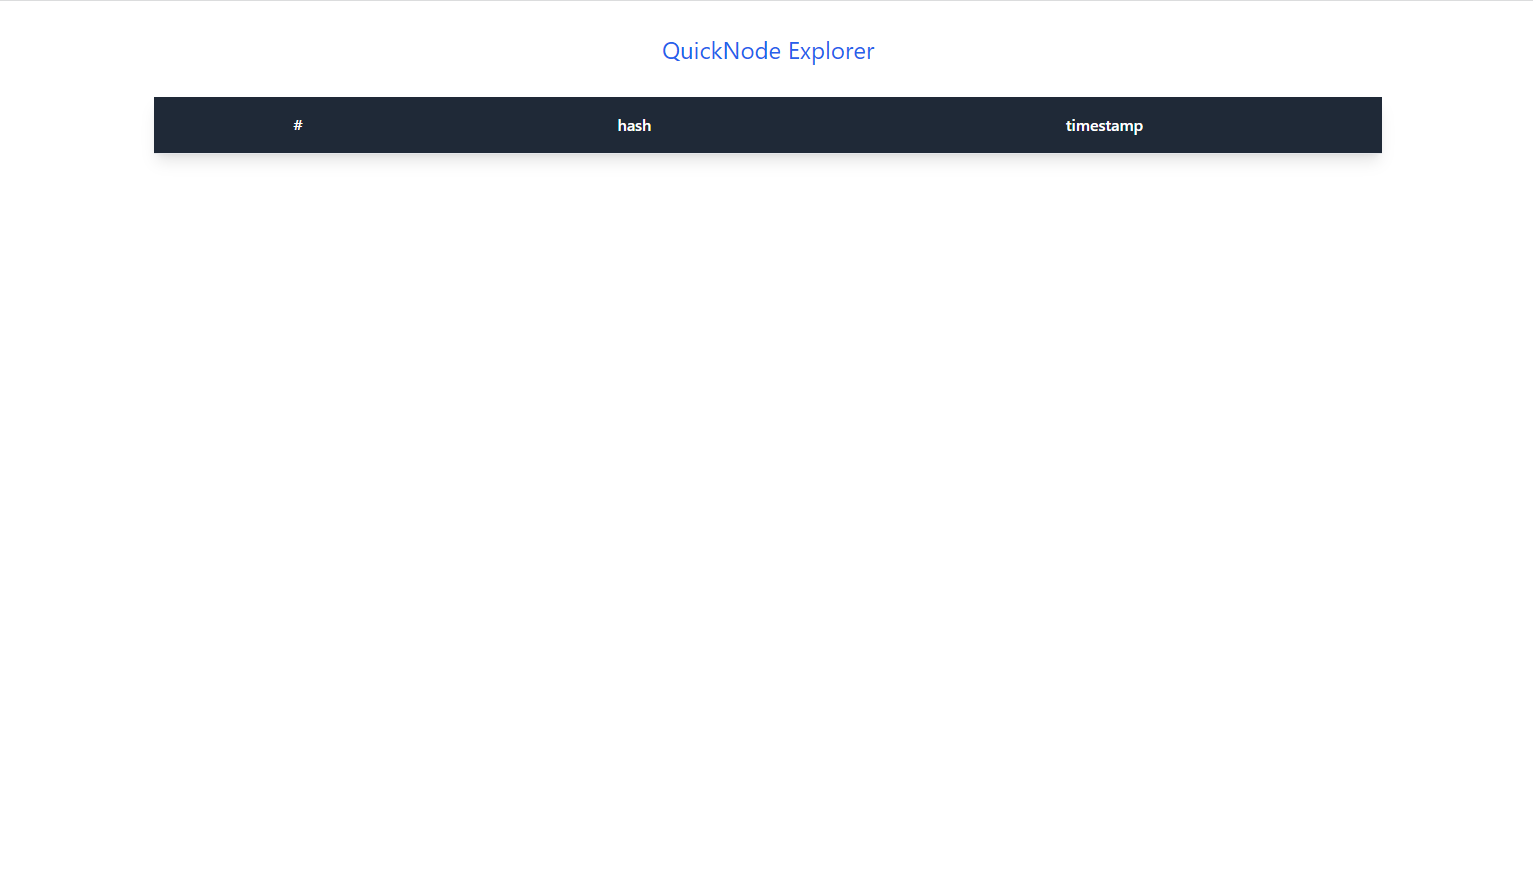
Now open the http://localhost:3000 in your browser. Here's what your web browser should look like:
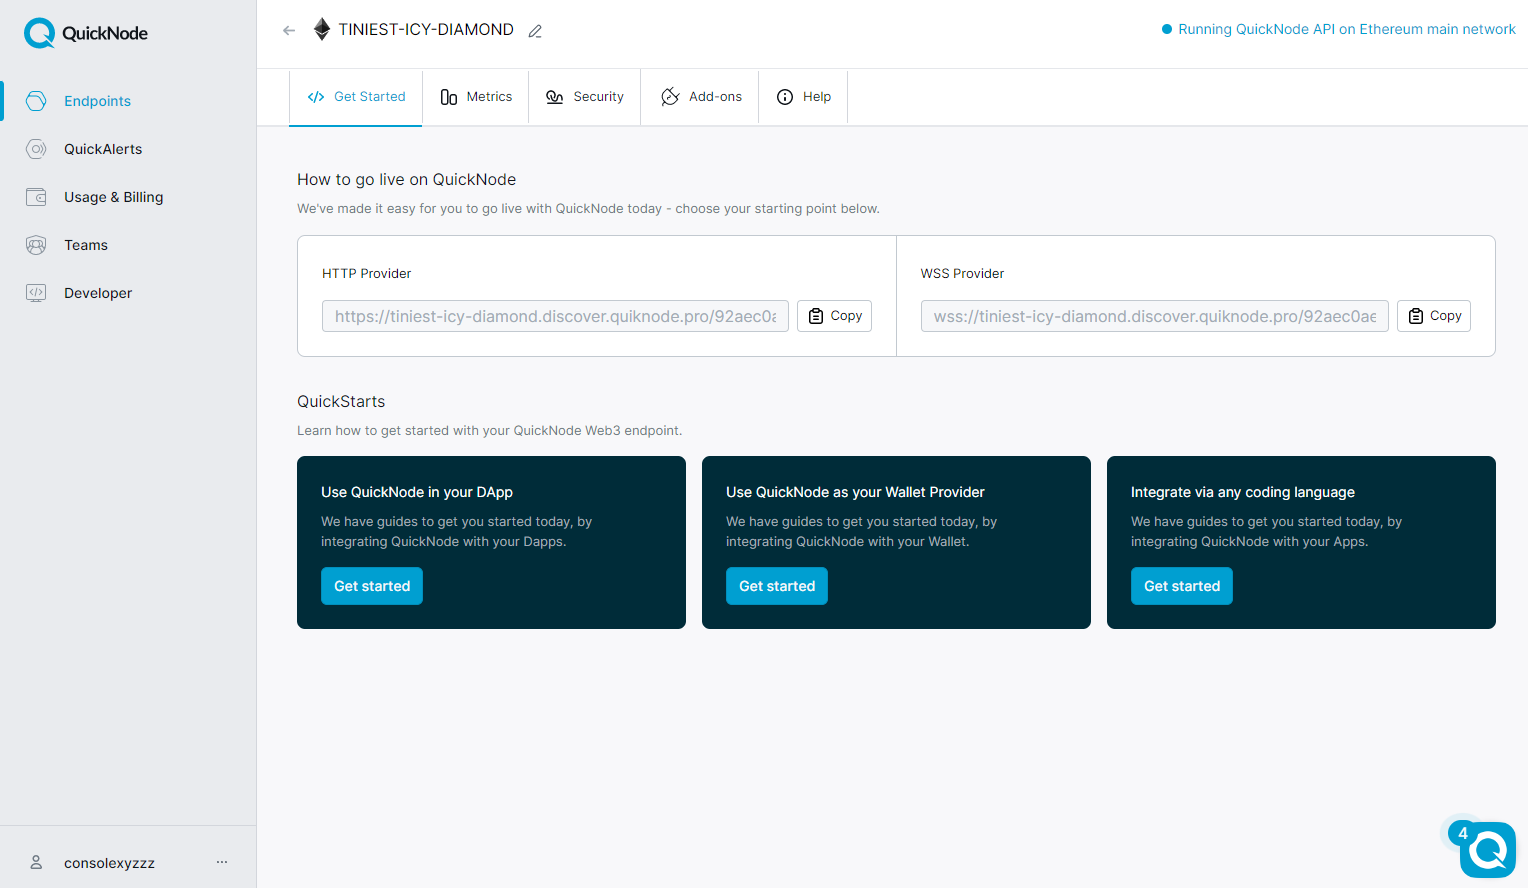
STEP 04: Setting up an Ethereum Endpoint with QuickNode
In the next step, you must set up an Ethereum endpoint using QuickNode. If you still need to create an account, visit the link: [quicknode.com/chains/eth?utm_source=develop..).
After you have logged in, go to the https://www.quicknode.com/endpoints page and click on the "Create an endpoint" button. Then, select "Ethereum mainnet" and click on "Continue" followed by "Create endpoint".
Your endpoint will be created, and you can copy the HTTP provider link to proceed to the next step.
STEP 05: Reading Blockchain Data
To interact with the Ethereum blockchain, we need to install Web3.js, a library designed for this purpose. To install it, open your terminal and run the following command:
npm install web3
Navigate to the Main.jsx file and paste the code below between lines 1-3 to import Web3.js into your project.
import web3 from 'web3';
Then input the following code into Main.jsx
import React, { useEffect , useState} from "react";
import Web3 from 'web3';


function Main() {

   var url = "https://tiniest-icy-diamond.discover.quiknode.pro/92aec0ae5b783d3066424796421b50dd718ffd14/"

   var provider = new Web3.providers.HttpProvider(url);
   var web3= new Web3(provider)

   const [number, setNumber]= useState(null);
   const [hash , setHash] = useState(null);
   const [time , setTime] = useState(null);


   useEffect ( () => {
    const blocknumber = async () => {
      var data = await web3.eth.getBlockNumber()

      for (var i =0 ; i < 1 ; i++){
        var block = web3.eth.getBlock(data - i);
        var number = (await block).number;
        var hash = (await block).hash;
        var time = (await block).timestamp;

      setNumber(number);
      setHash(hash);
      setTime(time);
      }
    }
     blocknumber()
   },[])

    return (
        <div className= "flex justify-center">
   <table className="table-auto shadow-lg bg-white w-4/5 text-center" >
  <thead className=" bg-gray-800 border-b">
    <tr>
      <th scope="col" className="text-center  px-8 py-4 font-medium text-white">#</th>
      <th scope="col" className="text-center  px-8 py-4 font-medium text-white">hash </th>
      <th scope="col" className="text-center px-8 py-4 font-medium text-white">timestamp</th>
    </tr>
  </thead>
  <tbody>
    <tr>
      <td>{number}</td>
      <td>{hash}</td>
      <td>{time}</td>
    </tr>
  </tbody>
</table>
        </div>
    )
}

export default Main;
The code above does a few things:
First, we imported React, useEffect, useState, and Web3 libraries inside the component, then declared three state variables using the useState hook number, hash, and time.
We used the useEffect hook to fetch the latest block number from the Ethereum node by calling the getBlockNumber method of the web3.eth object. The getBlockNumber method returns a promise that resolves to the latest block number; the code then uses a for-loop to retrieve the block object for that latest block and sets the number, hash, and time state variables using the setNumber, setHash, and setTime functions, respectively.
Finally, the render returns a table with three columns: block number, hash, and timestamp. We display the block information in a single row in the table body and use the className attribute to add styling to the table using Tailwind CSS classes.

Congratulation! You now know how to retrieve and display data from QuickNode's Core API in your React application.
Note: If you plan to publish your code publicly, I recommend using a
.envfile to store your QuickNode RPC endpoint to prevent it from being compromised.
Conclusion
With the QuickNode’s API, building your first DApp is a straightforward process that involves setting up an Ethereum endpoint, installing the necessary tools, and implementing your DApp's logic. Connecting your application to the Ethereum blockchain allows you to leverage its security and decentralization features to create innovative solutions for various industries.
So, what are you waiting for? Follow the steps outlined in this article and start building your first DApp with QuickNode. Your newfound knowledge makes the possibilities for exciting and impactful applications endless.
Will you create a groundbreaking financial platform, a fun and interactive game, or something entirely new? The choice is yours! Let's get started and see what you can create.
Full Code Base
